Next to herbs—microgreens are some of the easiest edible plants that you can grow indoors—and arguably even easier! Over the past several years, microgreens have been showing up in fine dining restaurants and farmers markets; and over the last three years, I can even find them in my grocery store. They traditionally were used as a flavorful edible dress or garnish for a dish, but now it's not uncommon to find them as the dish.
Microgreens are a generic term for immature greens, harvested soon after their sprouting stage, typically within 10-15 days when the first two seed leaves, also known as cotyledons, have formed. You can purchase a "microgreen mix" online or at your local garden center. I particularly love the savory mix, which has a mixture of spicy salad greens, like mustards, peppergrass, cabbage, chard and radish. Or I particularly love sunflower greens, which have a crisp bite, which I can eat as a snack for weeks on end. You can also get a number of other leafy vegetables, like kale, broccoli, and even edible flowers.
Research shows that microgreens have far more nutrient density than mature leaves, although this varies from species to species, and of course—growing conditions, like soil and nutrients. One study that assayed 25 microgreen varieties found that red cabbage (Brassica oleracea L.), cilantro (Coriandrum sativum L.), garnet amaranth (Amaranthus hypochondriacus L.) and green daikon radish (Raphanus sativus L.), had the highest concentrations of ascorbic acids, carotenoids, phylloquinone, and tocopherols, respectively. Another interesting study specifically looked at vitamin and mineral levels of buckwheat (Fagopyrum esculentum), which was grown under different color LED lights. They found that vitamin C content was significantly higher when grown under white lights, compared to red or blue lights or in a dark room, which served as a control group. Additionally, minerals such as Ca, K, Mg, and P varied depending on the light.
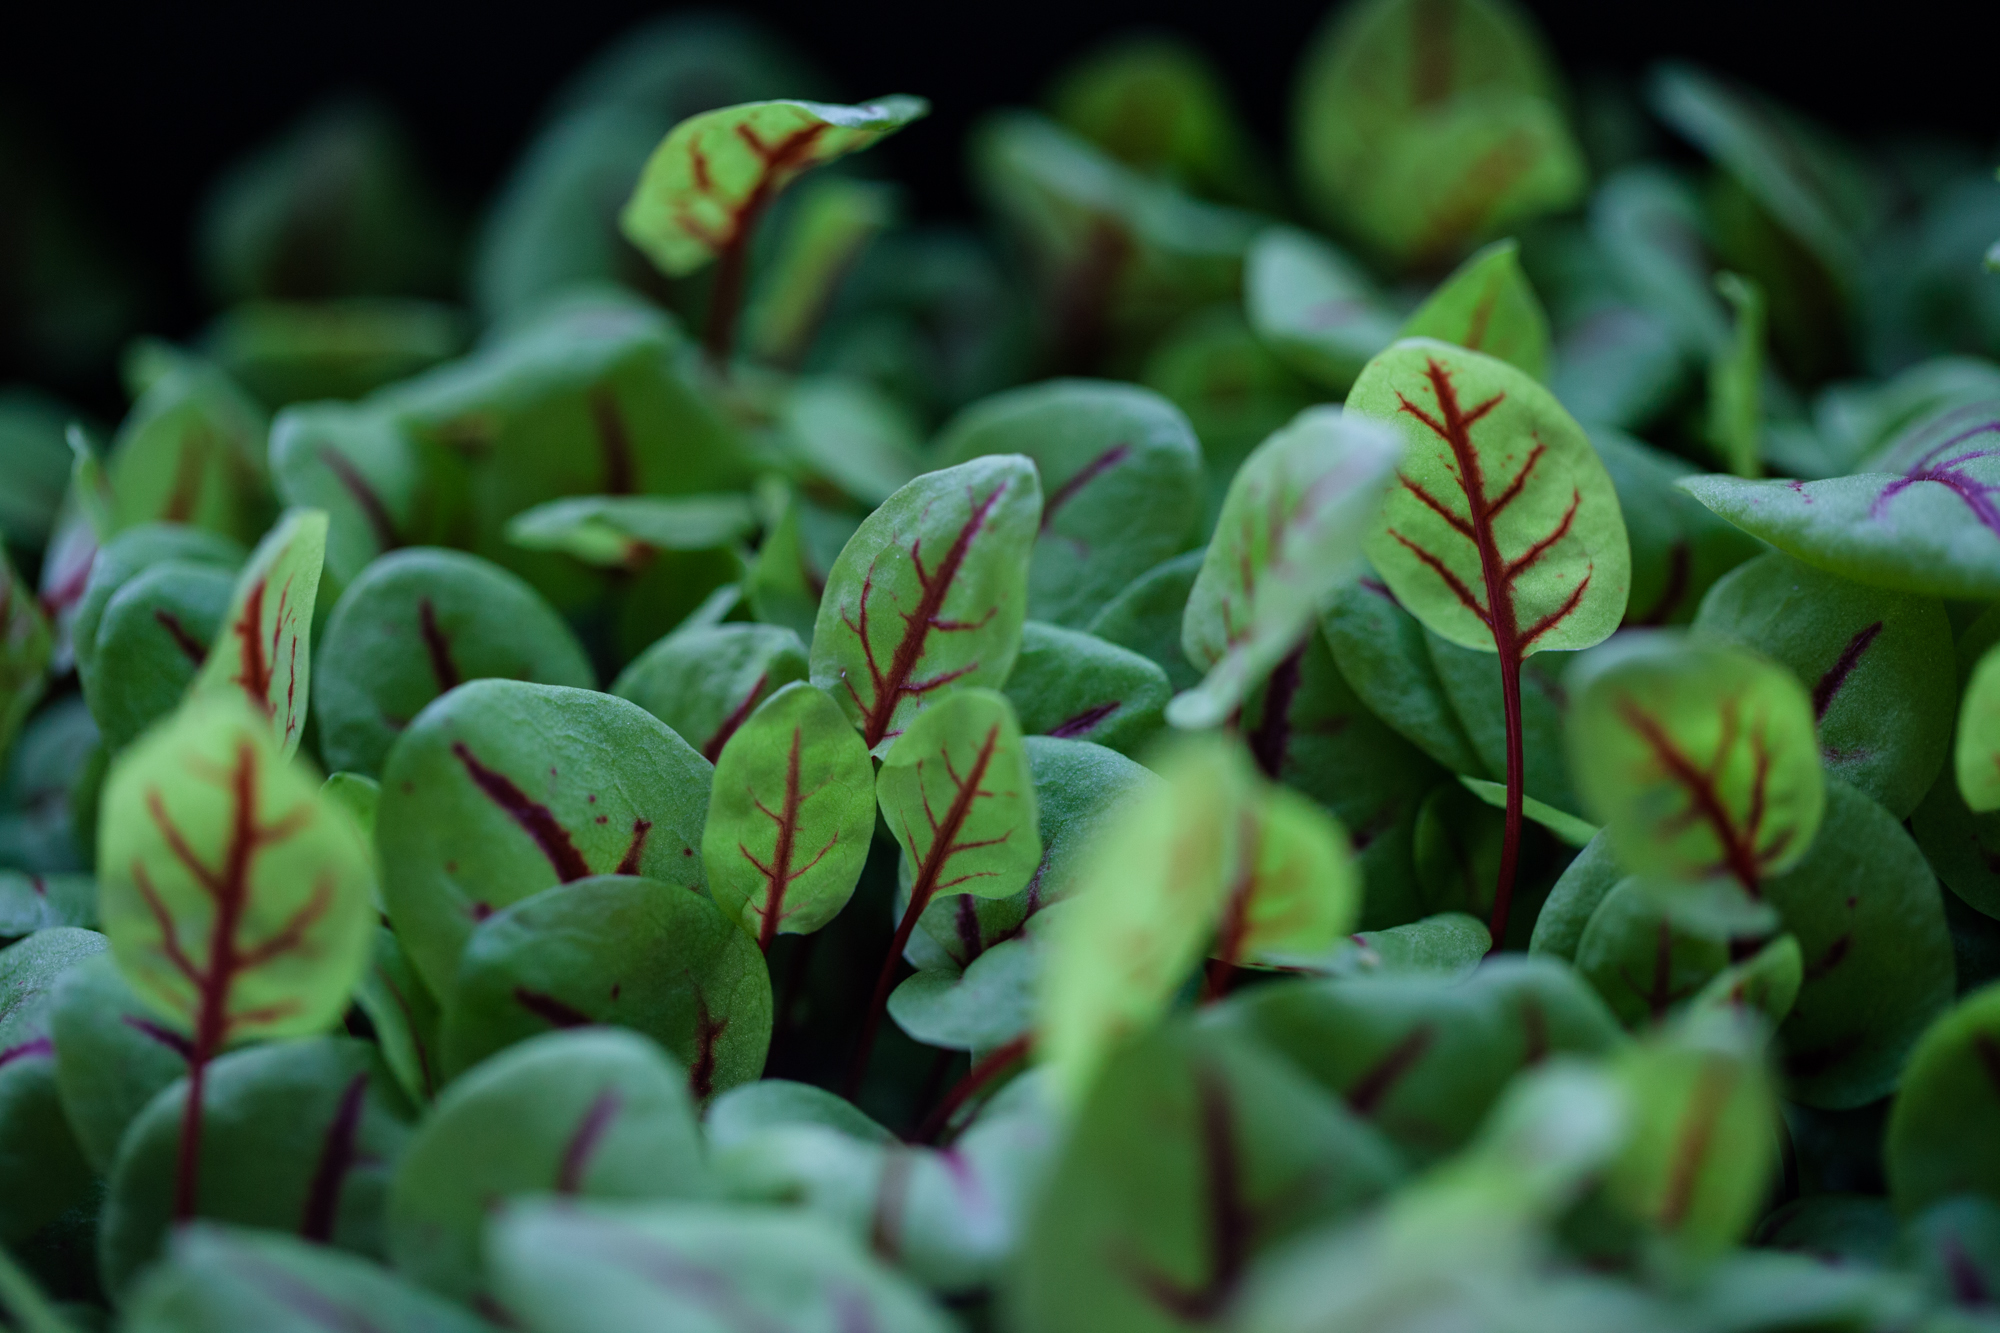
A tray of microgreen red sorrel leaves, which have an unexpected lemony bite. Photo: @HomesteadBrooklyn

Sunflower microgreens emerging from my closet garden. The first two leaves are known as cotyledons and these are particularly crunchy in sunflowers! Photo: @HomesteadBrooklyn
I first started growing microgreens in a soil-based system, although I'm looking forward to experimenting with a DIY hydroponic system (stay tuned for that!). Keep in mind that you'll need a sunny windowsill for growing your microgreens or at least some good LED grow lights. Otherwise, here's what you'll need to start growing your own microgreens indoors.
Tools
- two 10" x 20" growing trays (preferably one that fits in another)*
- scissors
- cardboard (cut to size of growing tray)
- humidity dome (or simply saran wrap)
- organic potting soil
- microgreen seeds
- spray bottle
*You can get professional growing trays or just regular containers, like clean take-out containers or the like.
Directions
- Use a growing tray (or another container) and if it doesn't have holes already in the bottom, then add some drainage holes with a pair of sharp scissors, being careful not to cut yourself. Stick this growing tray into another growing tray with no holes. This will let the moisture drip through to the container and the second tray will act as a saucer.
- Add around an inch of moistened potting soil to the growing tray. Lightly level and flatten this with the cardboard.
- Scatter the microgreen seeds as evenly as possible across the top of the soil.
- Next, add a thin layer of soil to the top of the seeds. Gently press down using the cardboard. Mist the surface of the soil with your mister.
- Cover the entire growing tray with a humidity dome or just a layer of saran wrap. Sometimes I just cover the microgreens with another growing tray. It needs moisture and warmth in order to sprout—not necessarily sunlight. Check daily and mist, if its looking dry.
- One the seeds have sprouted (3-8 days), remove the top of the container and begin misting twice daily—making sure the microgreens are getting between 4-8 hours of sunlight or LED grown lights.
- You'll be able to harvest as soon as the first two leaves start to form!
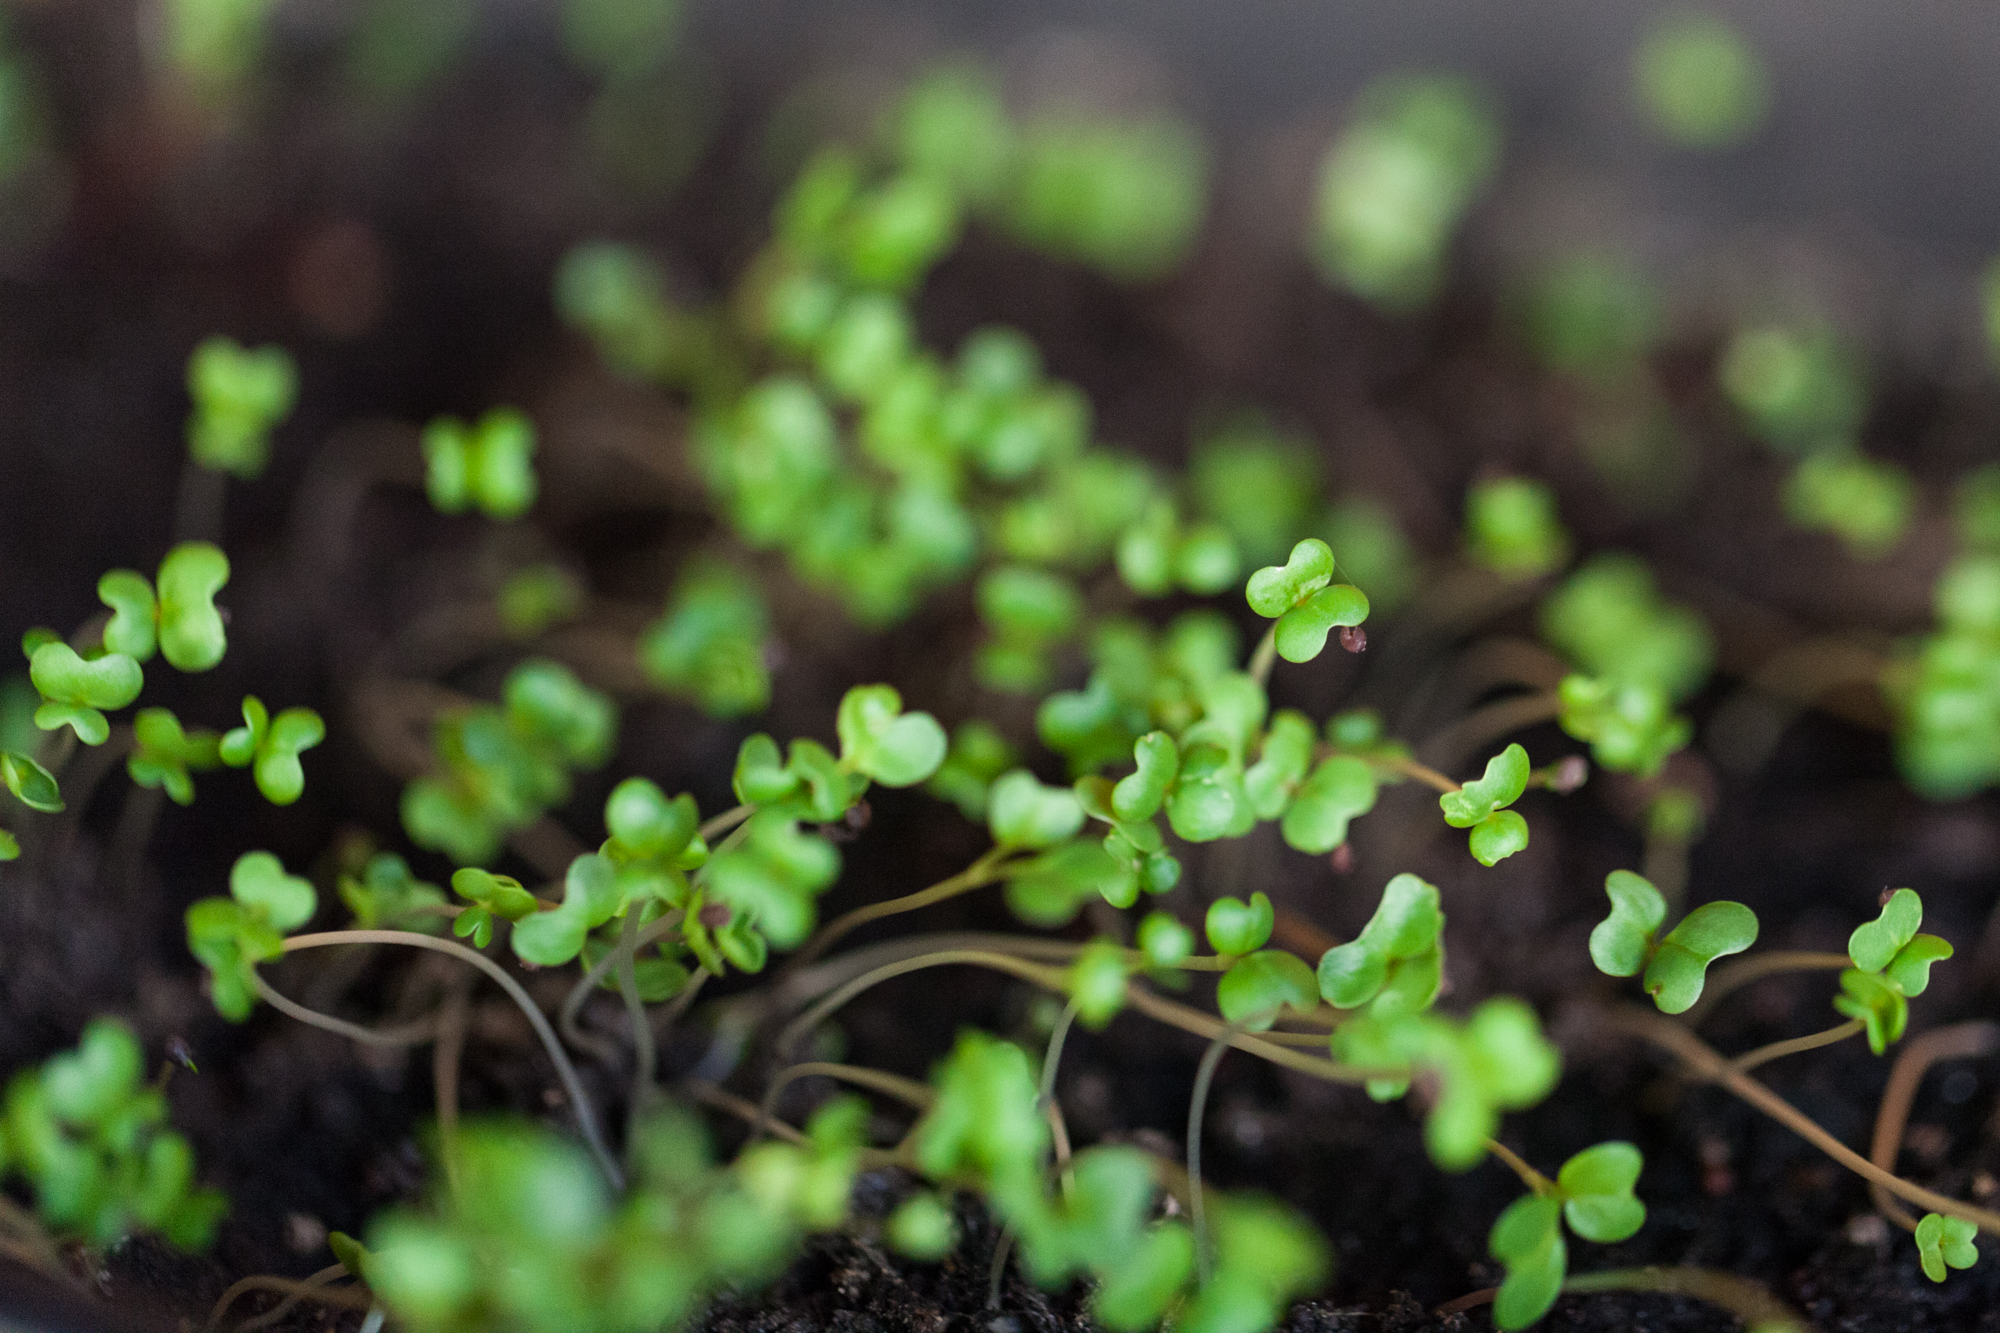
Sometimes I grow so many different varieties of microgreens that I don't remember which is which. I think these are radish microgreens.


An example of one of my weekly harvests. All microgreens here were grown in my closet garden! Photo: Photo: @HomesteadBrooklyn